Right, yes, as we agreed last time, the benefits of writing down a plan of attack:
- You’ll remember what you did earlier and thus find it much easier to change and improve as needed
- It allows you to focus on the act of painting
- The mere act of objectifying your approach can help you to spot improvements even before you start to paint
And then, right at the end of writing you my last message, I remembered a phone call we’d had from an agitated fellow glass painter who’d just been commissioned to paint a cat.
“But I don’t know how to paint a cat!” he said.
“All that fur. And that cute, playful expression …”
“Help me, Williams & Byrne! How do I paint a cute and playful cat?”
As always, it was a question of starting somewhere (rather than endlessly worrying and so never getting going).
So we talked about a possible “plan of attack”, and our colleague went off to make a start.
Next thing, a distraught e-mail lands in our Studio Inbox:
“I’ve fired the undercoat and trace-lines.
I also want to add mid-tones plus some opaque overcoats. But I can’t get them to look fluent and graded.
The cat looks awful – help!”
Now it’s possible for just about anybody to find themselves outside their “comfort zone”. And then, with the deadline looming – maybe the client is even going to visit! – it’s easy enough to enter a state of counter-productive panic, which only makes things worse.
What we particularly noticed from our colleague’s e-mail was that he was actually painting the cat itself whilst still having difficulties with aspects of the individual techniques.
Yet if it’s a technique you want to master, then the last thing you do is “do it for real”.
Take the case we have here: a cat. You’ve got the design. And probably you’ve also got it in your mind’s eye, how you want it to look. And then there you are, using the design itself to rehearse how to lay down and mid-tones and then soften them by means of an opaque overcoat. Since you’re still struggling to acquire mastery over the techniques, it’s unsurprising that the results will be far from satisfactory.
By rushing ahead and practicing with exactly the object that you want to paint perfectly, your sense of the gulf between what are are doing and what you want to be doing will be the thing which will stop you from improving as fast as you can.
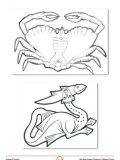
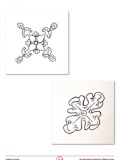
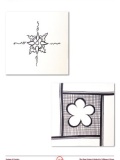
The advice we gave our colleague was therefore to paint something different using the same sequence of techniques:
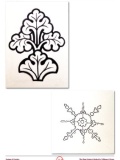
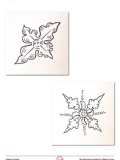
- Start with something abstract, a “doodle” or whatever, just to get a good sense of how to “segue” from one technique to another in the overall sequence
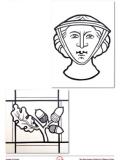
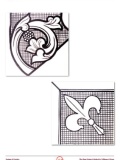
- Then (as needed) something closer to the final object – here, maybe a paw, some fur, or an eye
So, definitely make a plan of attack. But then don’t immediately rush on and test it “at full speed”. Rather, isolate the techniques, and practice the sequence on something different.
Once you’re technically fluent, then it’s time to consider the design itself.
And next time: accuracy and realism in stained glass painting – when to rub out and start again, and when to continue until the end …
(That topic will keep us all busy!)
Best,